With more and more devices getting connected to the internet, the demand for skills in this area is very high. You can learn IOT only by building projects – get your hands on the sensors and actuators, set up the network and collect & analyse data sent by the sensors.
In this course, you will learn and build an IOT project using the very popular Arduino board.
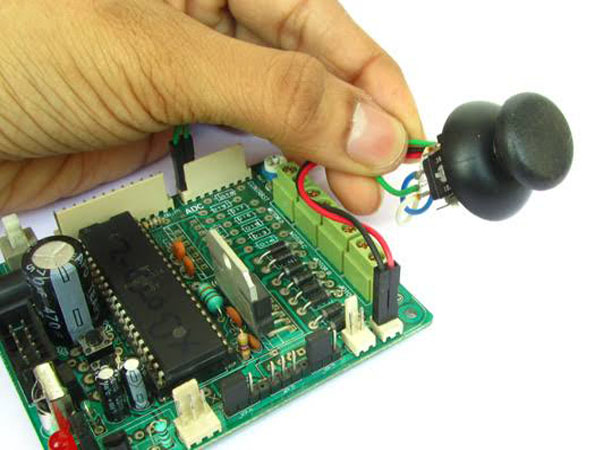
Analog joystick has two variable resistor for two axis. Each variable resistor has three pins, two extreme pins are connected to Vcc(5v in our case) and ground. The center pin is the output pin. The output voltage is between Vcc and GND depending on the position of stick. By measuring the voltage output of two variable resister from which the joystick is built, we can determine the position of stick in x and y axis.
Login to our Online Learning Portal will be provided instantaneously upon enrolling. This Portal gives you access to tutorials and quizzes required to build your project.
Brainy toys Embedded Project Kit will be dispatched to you within 24 hours of enrollment. Use this kit along with the online portal to learn and complete the project based course. As you complete the course your project will also be completed.
What will be in the IoT using Arduino project kit that I will receive?
You will get all the components needed to build a IoT using Arduino project. The following are the list of components that you will get in the kit,
Battery(9V) is required for this project. Shipping this item is not possible due to the logistics issues. This item is easily available in your local market. Our team shall assist you in getting this item, if needed.